typesetting and imposing zines on 9front
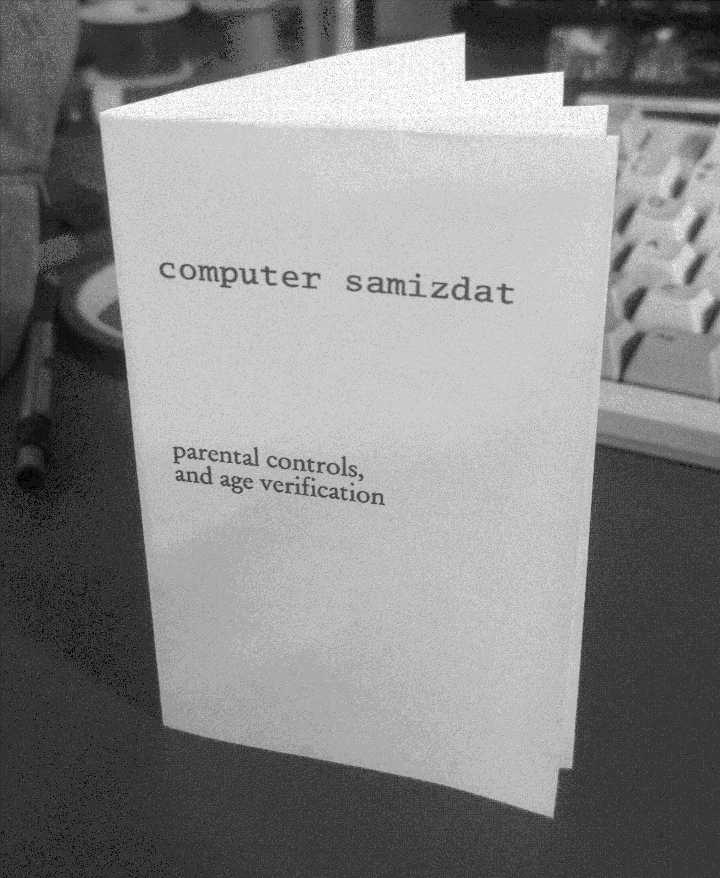
overhearing someone lib out at the TV in celebration of enhanced parental surveillance features in iOS announced during this years (2026) WWDC made me terribly upset, so I made a short 8-page mini zine to distribute on my college campus to cool down a bit.
I've turned it into a template, which you can clone from sr.ht:
sr.ht/~kestrel/mzinetmpl
here I my notes about typesetting and imposing a zine entirely within 9front.
troff(1)
troff is a complete typesetting package, and has been around for quite a long time. the version of troff shipped in Plan 9 descends directly from the original UNIX troff, only really differing in that it had UTF-8 support added during the port. The classic K&R C book was typeset using it!
This book was typeset (pic|tbl|eqn|troff -ms) in Times Roman and Courier by the authors, using an Autologic APS-5 phototypesetter and a DEC VAX 8550 running the 9th Edition of the UNIX© operating system.
on 9front, documentation for troff lives in troff(1) and /sys/doc/troff.(ms ps pdf). the latter being the meaty part. you also probably want to use the ms macro package, but it seems that documentation for that doesn't ship with the system. thankfully, it is available on troff.org.
Typing Documents on the UNIX System: Using the -ms Macros with Troff and Nroff
troff doesn't really have any idea about the dimensions of the device or media that its typesetting for. you can set an offset from the left (with the origin being the upper left corner) to get a left margin, but there isn't a right margin per se; you just set a maximum line and title length. nor are there top and bottom margins, instead you set "traps" where the typesetter inserts space when it reaches a certain vertical place on the page.
parameters such as line length and page offset are set with the .ll and .po requests respectively (more in the troff docs), but when using ms, there are registers which control these same things. you are supposed to set the registers, but they only take affect by the next page. if you need to set those up immediately, you need to both set the register and use the plain troff request, per the ms docs (I had to read them -very- carefully to figure this one out).
.po 0.25i     \" page offset from left
.nr PO 0.25i
.ll 2.25i     \" line length
.nr LL 2.25i
oh, and if you set the line length, you probably want to set the title length as well. I'm not sure why they aren't the same.
.lt 2.25i     \" line length
.nr LT 2.25i
ms also sets up macros and traps to add top and bottom margins for you. you can set the locations in the page where this happens with the HM and FM registers.
.nr HM 0.25i  \" top margin
.nr FM -0.25i \" bottom margin
in the ms documentation, it's not totally clear that the footer height needs to be negative. if you consult the troff documentations example of adding headers and footers yourself, it becomes clearer: negative values are positions relative to the bottom of the page. setting FM to negative -x causes the trap to be sprung at x away from the bottom.
postscript and pdf
9front ships with a short rc script called dpost which converts the troff output to postscript, but at this point it still has no idea about page size and will spit out some default page with all your stuff jammed in one corner. but, since it's just postscript, you can just insert a setpagedevice command. for an 8 page mini zine, the pages are 2.75"x4.25", or 198x306 points.
<< /PageSize [198 306] >> setpagedevice
in the troff(1) documentation, it is stated the dpost only takes a -f argument to embed font information, and a file to act upon. but if you look at the source of dpost, you'll see it calls another program, tr2post, with the same arguments almost verbatim (sans -f). tr2post seems underdocumentated, mentioned only in lp(8), and its behavior is not described in appropriate detail. but if you visit its source code, you'll see one of the options it takes is -P, which lets you pass arbitrary postscript through into the output.
inevitably you'll come up with a mkfile to automate all this, which is where this shines:
output.ps: input.ms
	troff -ms $prereq \
		| dpost -P '<< /PageSize [198 306] >> setpagedevice' > $target
imposing
after you have a document with all you have written, at the right page size, you still need to lay out those pages onto one (in the case of a mini zine) sheet of paper, every page in the proper orientation and order such that it reads correctly when folded up. this process of layout and ordering is calling imposing.
there exists a standard called EPS, that is, embedded postscript, which makes some guarantees: the stack is left exactly as it was before execution of the EPS by the time execution is completed, and the EPS will not call showpage (as they are not pages unto themselves). there's some other stuff too, mostly metadata, but for this purpose that doesn't matter.
9front ships with ghostscript, a postscript interpreter, and it can output eps files using the epswrite device. necessarily, one eps file per page. the following example takes a postscript file, input.ps, and outputs eps files titled output.%d.eps, where %d is replaced with the page number for each page. see manual for gs(1).
gs -s'DEVICE=epswrite' \
	-dBATCH -dNOPAUSE \
	-s'OutputFile=output.%d.eps' \
	input.ps
because of the guarantees made by EPS makes, you can then write your own postscript program which translates the origin to the correct place, execute the EPS, translate, execute, repeat. and set the page size, too. US letter is 792x612 points (which, you will observe, both dimensions are perfect integer multiples of the pages which are being imposed).
%!
<< /PageSize [792 612] >> setpagedevice
(input.8.eps) run
198 0 translate (input.1.eps) run
% ... and so on
showpage
only, I noticed that the postscript produced by ghostscript is evil and includes showpage anyways. this can be cured, though, by
- saving the environment
- redefining showpage
- including the EPS
- restoring the environment
- showpage
thus, for a complete program to impose an 8 page mini zine,
%!
<< /PageSize [792 612] >> setpagedevice
save
/showpage {} bind def
(input.8.eps) run
198 0 translate (inut.1.eps) run
198 0 translate (input.2.eps) run
198 0 translate (input.3.eps) run
99 153 translate
180 rotate
-99 -153 translate
0 -306 translate (input.4.eps) run
198 0 translate (input.5.eps) run
198 0 translate (input.6.eps) run
198 0 translate (input.7.eps) run
restore
showpage
I found it handy to add a cut line to help me guide my scissors during assembly, since trying to align it with a folded crease it tricky (too low contrast). you can add a line like so (provided you do it before translating the origin):
newpath
198 306 moveto
198 3 mul 306 lineto
0.5 setlinewidth 0.5 setgray
stroke
this postscript program depends on those eps files being around. running it through gs again, using the pswrite device, will emit a standalone postscript file.
gs -s'DEVICE=pswrite' \
	-dBATCH -dNOPAUSE \
	-s'OutputFile=imposed-output.ps' \
	imposed-input.ps
conversion to pdf, printing
you can convert ps to pdf with the ps2pdf(1) command. easy.
in theory, if you have a postscript printer, you should be able to print using lp(1). I do not own a postscript printer, so I stuck the PDF on a USB stick and walked it over.
2026-06-11


